New tutorial! Come See!
Tag: tutorial


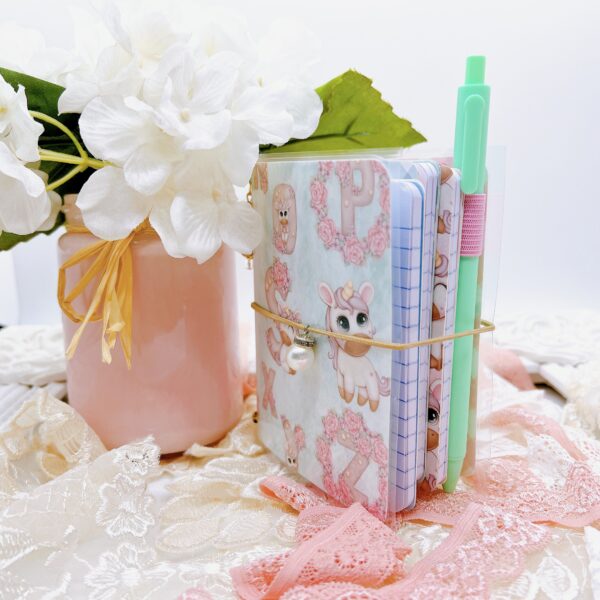
Memorydex Card Tutorial
Memorydex Card Tutorial feat Add to Cart by Becky Roberts Hi paper crafting friends! Today I have a Memorydex Card Tutorial featuring some of the NEW die-sets from the Add to Cart collection, from Spellbinders, by Becky Roberts! I’m also sharing a cute card making project that I designed, using – – Click Here to Read More – –
Share this:


20+ Handmade Cards from 1 Spellbinders Card Kit
20+ Handmade Cards from 1 Spellbinders Card Kit That’s right! It’s not a typo! I did indeed made 20+ Handmade Cards from just 1 Spellbinders Card Kit! As we paper crafters like to call it, I KILLED THIS KIT! If you follow me on YouTube, you would’ve seen my un-boxing – – Click Here to Read More – –
Share this:

Loaded Envelope Tutorial
Loaded Envelope Tutorial Today I’m sharing with you an easy, clean and simple Loaded Envelope Tutorial. The Loaded Envelope craze is the mastermind of my friend Anna Torres. Anna came up with this idea on how to convert a run of the mill yellow envelope into a work of art! – – Click Here to Read More – –
Share this:


Creative Ideas using Spellbinders Blooms Three Die D-Lites (Giveaway Closed)
Creative Ideas using Spellbinders Blooms Three Die D-Lites Hi Friends and welcome to yet another great Giveaway! In this post I’m featuring one of my favorite go-to dies. The Spellbinders Blooms Three Die D-lites! It was not too long ago when I made a video response showing how I stored – – Click Here to Read More – –
Share this:


Shabby Chic Altered Clock Tutorial
Shabby Chic Altered Clock Tutorial using the Tim Holtz Idea-ology clock. Hello! and welcome to my blog! In this post I share with you how I altered this beautiful shabby chic clock using items from Shabby is Chic Boutique. I’m so super excited, as this is the first mixed-media project – – Click Here to Read More – –
Share this:


Card Ideas using Heartfelt Creations Burst of Splendor
Card Ideas using the Heartfelt Creations Burst of Splendor collection. The paper was cut to 4×6 and mounted on card-stock, with double sided tape. I inked around the edges with a generic brown ink before I adhered the paper to the card stock. For the card-stock, I cut a piece – – Click Here to Read More – –

You must be logged in to post a comment.