
Graphic 45 Kaleidoscope Mini Album Tutorial
Hi paper crafting friends! I have a Graphic 45 Kaleidoscope Mini Album to share with you today! This is a shaped chipboard mini album. Although they can be a bit time-consuming, I do love making these!
This is a requested tutorial by one of my subbies, Brian. Hi Brian! And he wanted me to show him how I go about in making a shaped chipboard mini album. I do have a video tutorial of my Graphic 45 Children’s Hour Shaped Chipboard Mini Album here.
However, I went about in making my Kaleidoscope Mini Album a different way. I went through my stockpile of Steel Rule Dies, and came across my Tim Holtz On the Edge Die
This is just one steel rule die that you can use, but if you find other shapes that you’re interested in working with, by all means go right ahead!
The Tutorial
I’ve put together a quick and easy to follow picture tutorial where the process is self explanatory. As far as the measurements, you can make your Chipboard Mini Album as large as you care to make it. For me, because I was using a 5 and a half inch edge steel-rule-die, I kept my measurements at 5 1/2 by 8.

I took two pieces of my Graphic 45 Chipboard and trimmed it at 8″ by 5 1/2″. I then secured the chipboard with washi and ran it through my die-cutting machine. I did this 4x (4 chipboard pages).

Then I took my Graphic 45 Kaleidoscope paper and measured and trimmed just like I did with the chipboard sheets. I trimmed a total of 8 pieces.
After inking around the edges with my Graphic 45 Colorbox ink in Photogenic, I proceeded to add both double-sided tape and wet glue to adhere the pages to the chipboard.

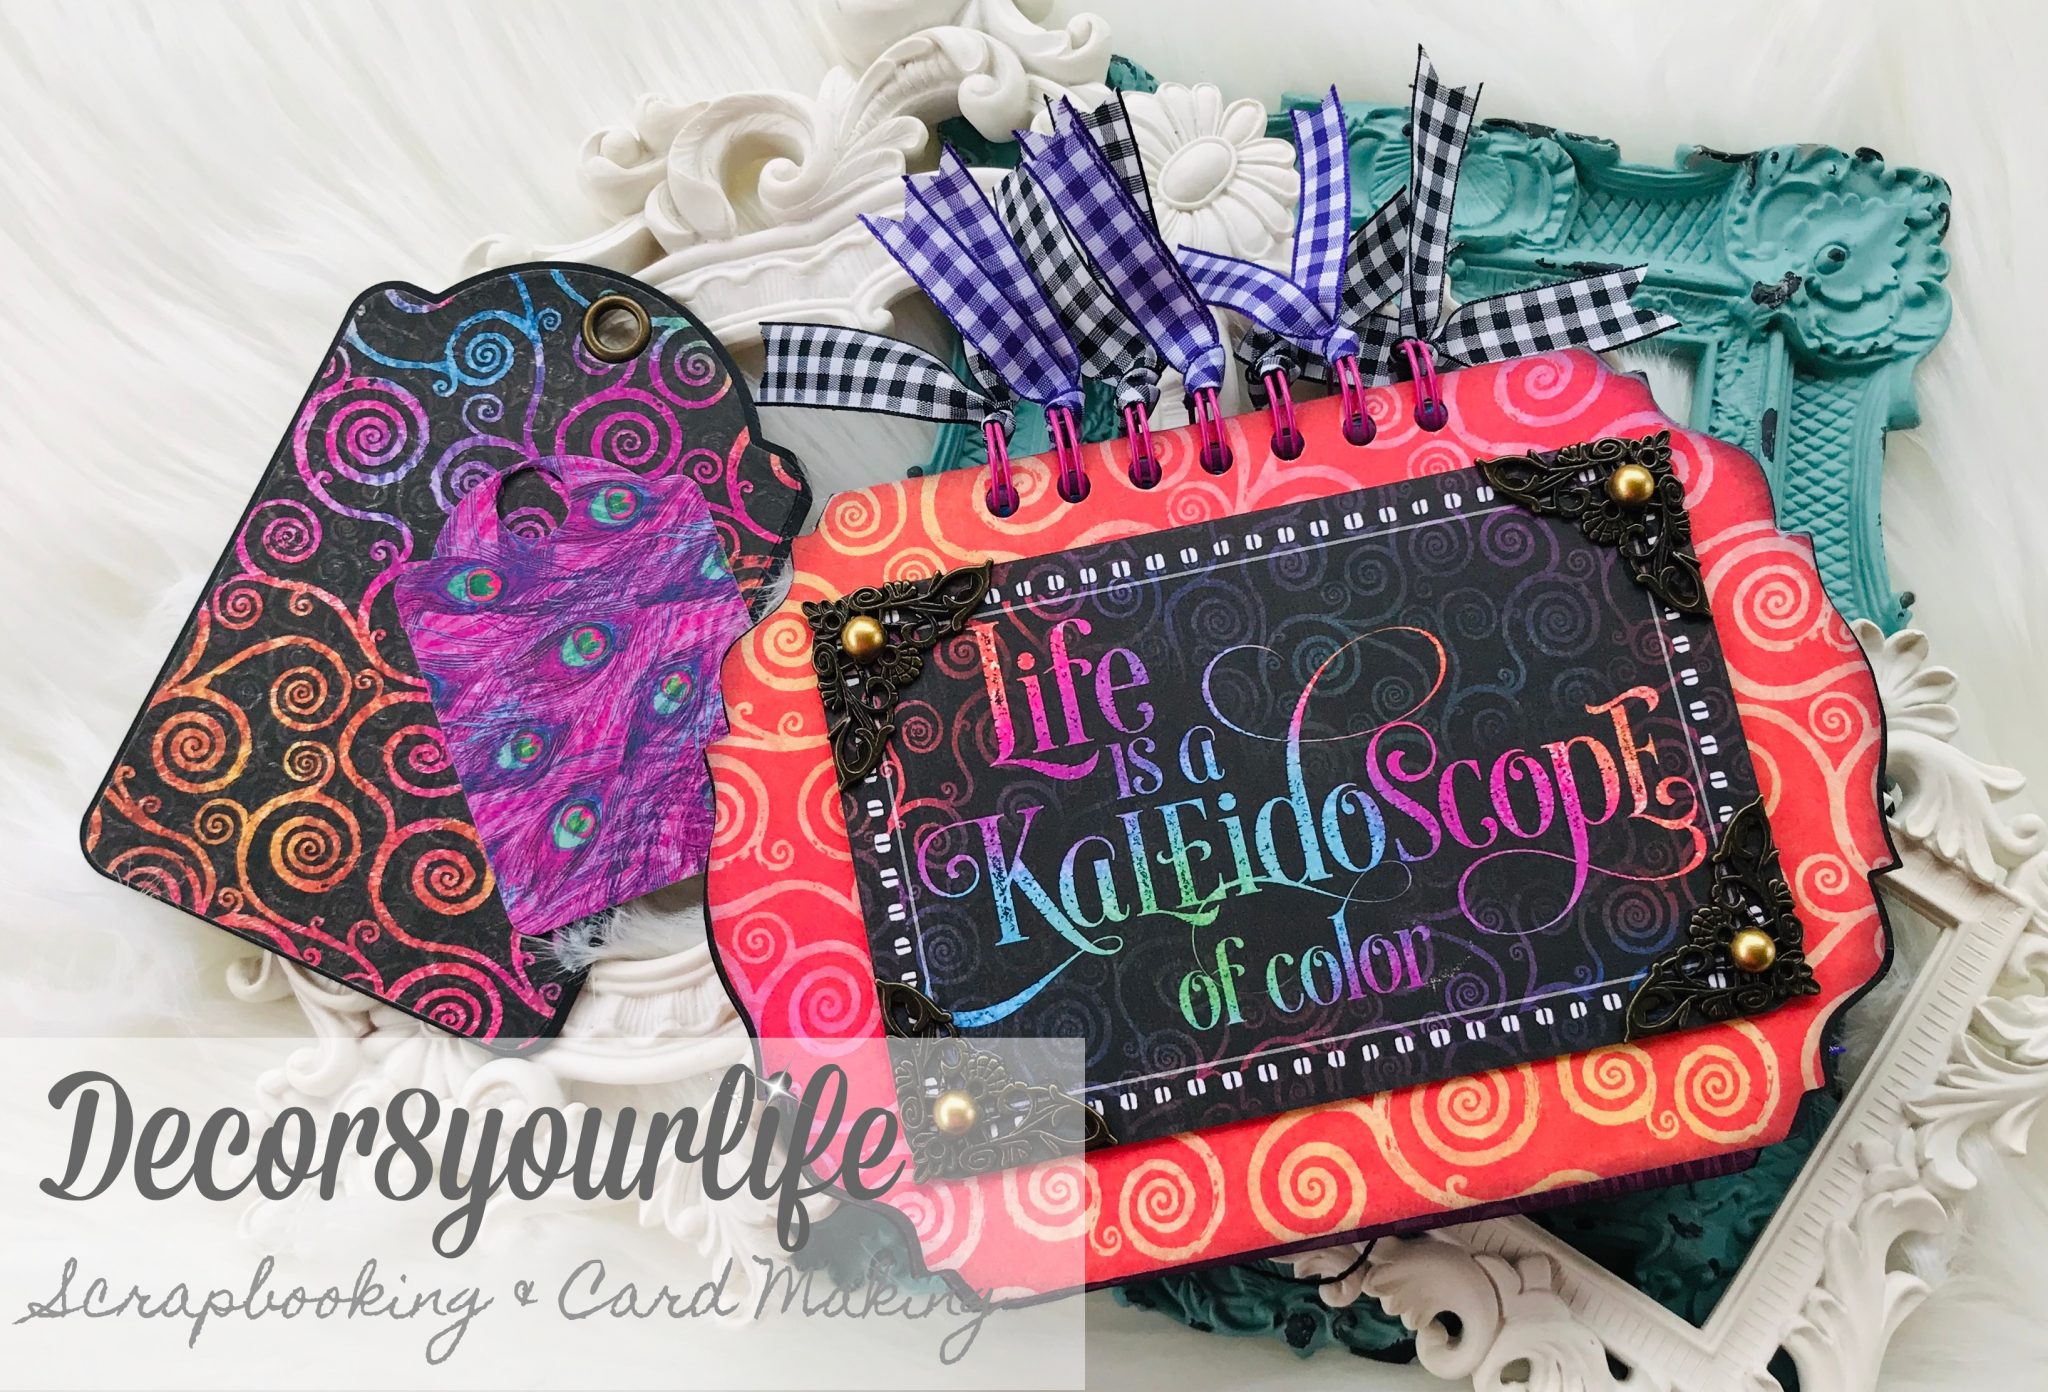
For this mini album, I decided to use my We R Memory Keepers Cinch Binding Machine. (I just don’t use it enough! LOL) But you can certainly punch holes with your Crop-a-dile and just use the rings.

Once the mini album is bound, I proceed to decorate it with my Graphic 45 Kaleidoscope journaling tags, metal embellishments, flat-back pearls and tags.
You may have seen how I use my Graphic 45 tags to make embellishments. If not, click here for ideas and how to.
My Graphic 45 Kaleidoscope Gallery


Supplies List


- Graphic 45 Kaleidoscope 12×12 Patterns & Solids
- Kaleidoscope 8×8 Paper Pad
- Kaleidoscope Chipboard Pieces
- Ephemera Cards
- Chipboard Sheets
- Graphic 45 Die-Tag
- Metal Corners by Graphic 45
- Graphic 45 Pearl Gems
- Regular Black Tags
- We R Memory Keepers Cinch Machine
- Tim Holtz On the Edge Die
- Die cutting Machine
- Artist Glitter Glue Dries Clear
- Scoring Board
- ScorTape
- Paper Trimmer
Video Walk-through
Lastly, I’ve put together a quick video walk through for you. In it you’ll see the Graphic 45 Kaleidoscope colors in full splendor! Enjoy the video and Happy Paper Crafting!
