
Hello fellow paper crafters! Today I have a Graphic 45 Ocean Blue Scrapbook Layout to share with you! This layout was super easy to make and I’ve done it in such a way that you can use it in a shadow box or display it on your wall!

Supplies List

- Graphic 45 Ocean Blue 12 x 12 Paper Pack
- Graphic 45 Ocean Blue Patterns and Solids
- Graphic 45 Ocean Blue Journaling and Ephemera Cards
- Graphic 45 Ocean Blue Die Cut Assortment
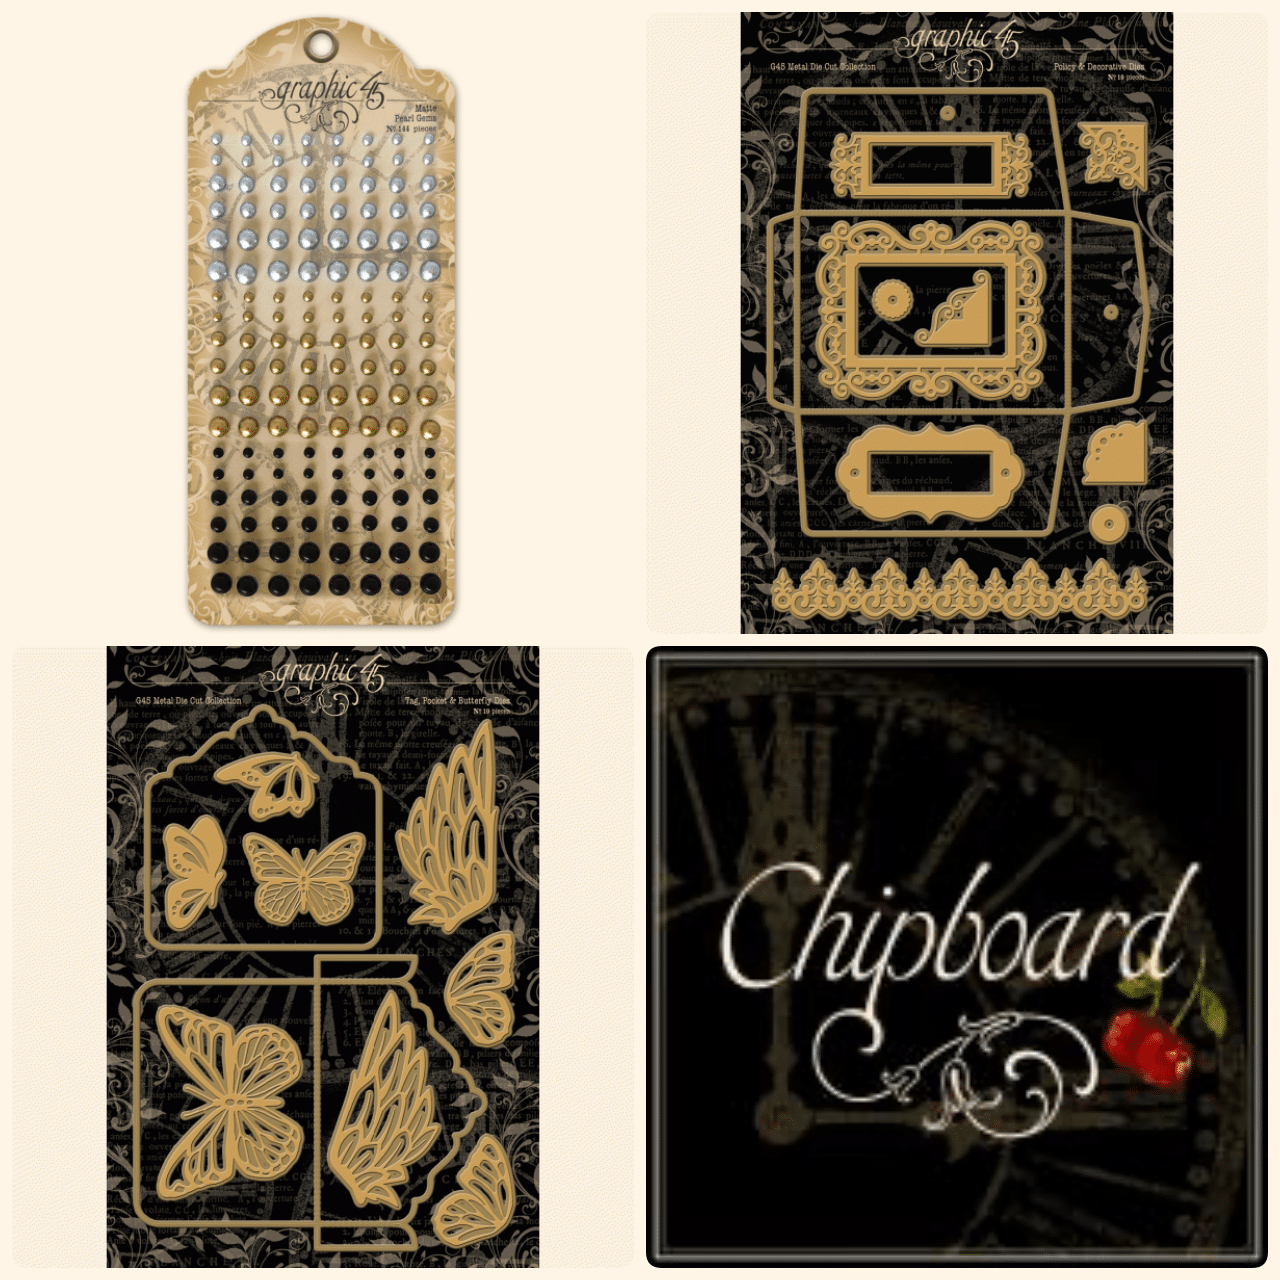
- Graphic 45 12×12 Black Chipboard Sheet
- Graphic 45 Policy and Decorative Die-set
- Graphic 45 Tag, Pocket and Butterfly Die-set
- Graphic 45 Matte Pearl Gems
- Wet Adhesive
- 1 Sheet of 12×12 Card Stock
- 1 Sheet of Graphic 45 Artisan Style Collection – Craftsmanship (dark side) or Black Card Stock
- Die-cutting Machine
- Chipboard Scraps or Foam Squares
- Paper Trimmer
- Scissors
- Gingham Ribbon (black and white)
- Off-white Trim
- Photo Paper or Heavy Weight White Card Stock
Photo Dimensions
The image size that I used for the photo insert is 2.5 x 2.5 inches. I printed my picture on Heavy Weight White Card Stock since I was out of Photo Paper. I have found that the heavier the card stock that I print my image on, the nicer it looks.
After printing out my image, I decided to cut the card stock (that the image is printed on) to approx. 3 5/8 x 5″. This way, I get a bit of a border after gluing the Die-cut assortment piece over my image.
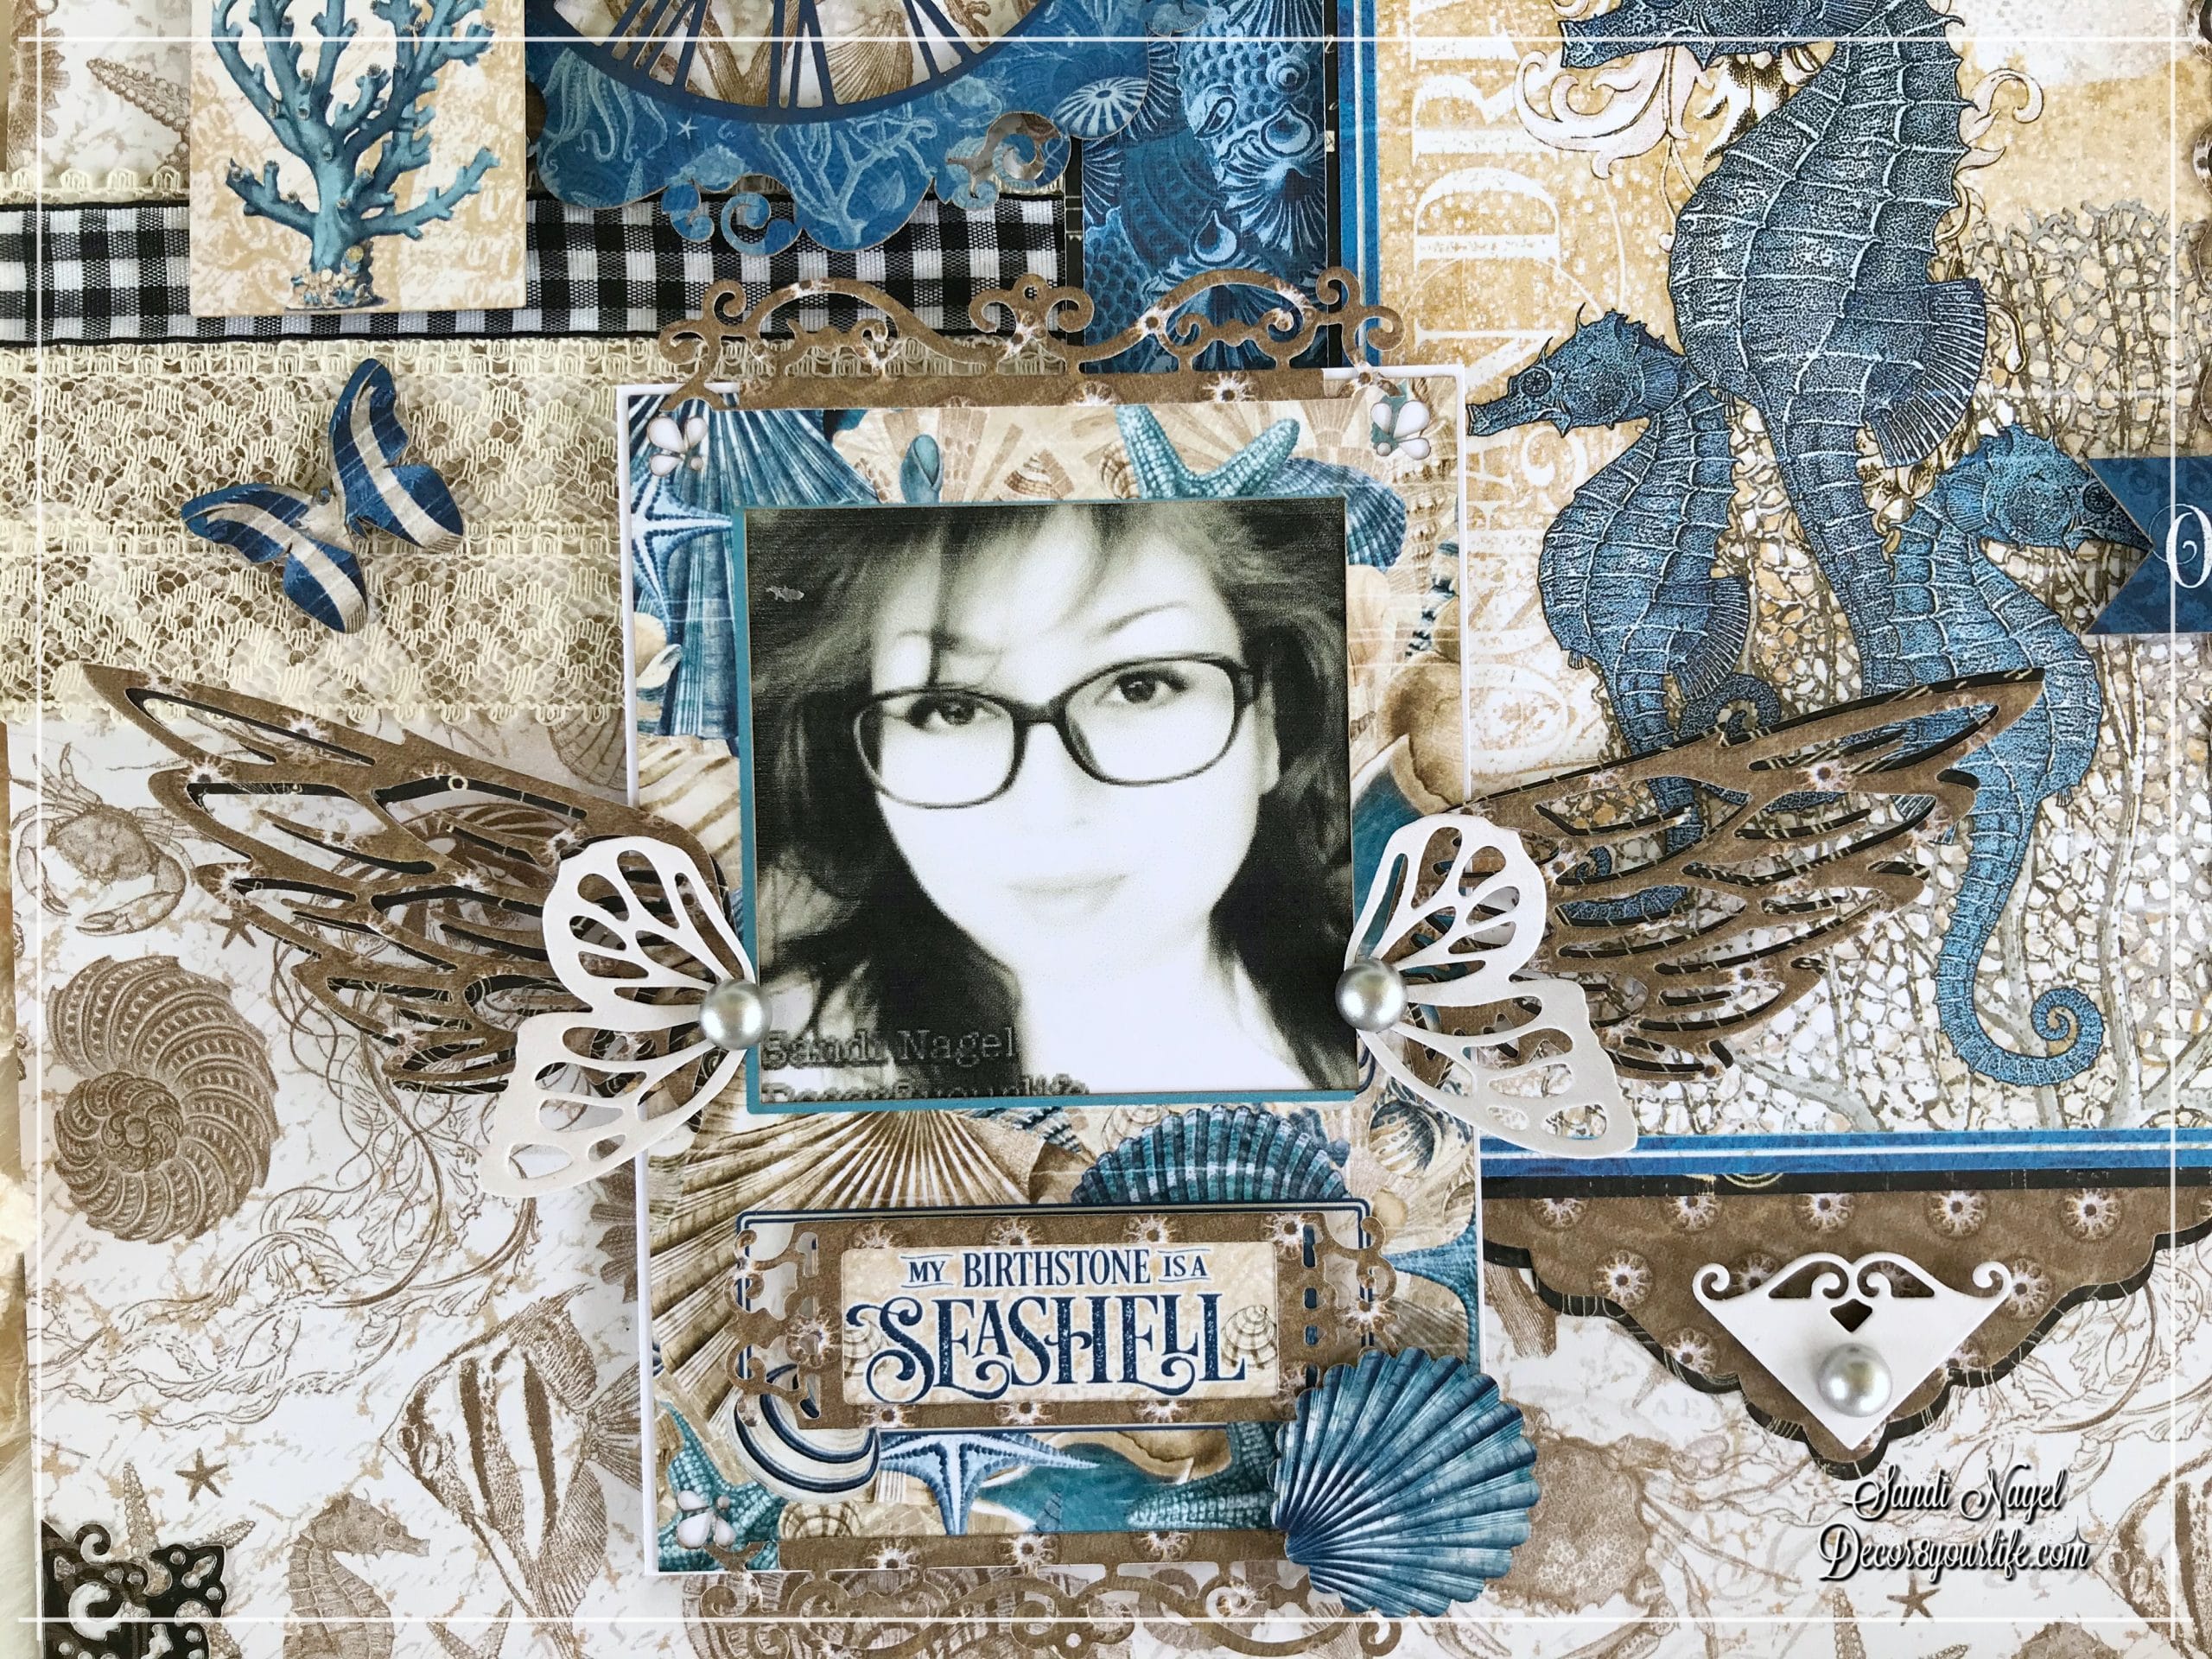
Photo Embellishments
And now for a little bit of die-cutting. These die-cut pieces where cut from the Graphic 45 Ocean Blue Patterns and Solids paper pad.
I used the larger of the three ornate frame dies from my Graphic 45 Policy and Decorative die-set. I cut along the top and bottom edges, then ran a bead of glue to apply to the top and bottom of my Ocean Blue frame.
I also die-cut two pair of wings, using my Graphic 45 Pocket and Butterfly Die-set. The bottom set of wings was die-cut from my Graphic 45 Artisan Style collection (you may use black card stock if you like); and the top layer of the large wings was die-cut using a sheet from my Graphic 45 Ocean Blue Patterns and Solids paper pad. For a higher contrast, I used the lighter side of a sheet from this paper pad to die-cut the smaller set of wings. Then to top these off, I used the silver flat backs from my Graphic 45 Matte Pearl Gems set.

I then used the ornate rectangular frame die to die-cut the frame with the “My Birthstone is a Seashell” sentiment; and I topped this off with a seashell piece from the Graphic 45 Ocean Blue Die-cut Assortment.
Framing the Sea Horse Image
I took the sea horses from my Graphic 45 Ocean Blue Journaling and Ephemera Cards, and matted it to the front of my Graphic 45 Artisan Style sheet. This mat measures 4 1/8 x 6 1/4″. Next I die-cut 4 pieces using the Tag die from my Graphic 45 Tag, Pocket and Butterfly die-set. Two pieces were cut using the Artisan Style sheet and two pieces were cut using a sheet from the Ocean Blue Patterns and Solids.
I then trimmed the tops off and glued them one right on top of the other, leaving an edge of the black one showing in the background. These were then glued to the back of the matted image.
Then to make it more interesting, I used a lighter sheet from the Ocean Blue Patterns and Solids to die-cut two corners, with my Graphic 45 Policy and Decorative die-set. I mounted these using foam squares and added a silver flat back from my G45 Matte Pearl Gems.


Using the same two papers (dark and brown), I die-cut that beautiful side border; and with the same dark edge concept, I glued one over the other (offset to show off the paper underneath), then glued it to the side of the matted image.

It All Comes Together
Now that we’ve done all the preliminary work, it’s time to put our 12×12 Scrapbook Layout together. First thing I did was to glue a 12×12 card stock backing to my 12×12 sheet. The sheet that I’m using is from my Graphic 45 Patterns and Solids. The next thing was to cut a piece of lace and ribbon trims and glue them to the center.
When possible, wrap the edges of your trim around to the back of your layout for a nice smooth edge. You then mount your 12×12 layout on your Graphic 45 chipboard sheet so these edges won’t show.

To add contrast to this layout I decided to cut and mount a sheet from my Graphic 45 Ocean Blue Paper Pack, using the same picture and matting dimensions from the sea horse ephemera image. I then glued this matted paper somewhat to the left and top of my layout. Then using chipboard scraps glued to the back of my sea horse and framed picture, I glued these overlapping each other.
I also used foam squares and more chipboard scraps to add dimension to my Ocean Blue Die-cut Assortments.

And last, but not least, I used my Graphic 45 packaging (Yup! I LOVE the packaging!) to die-cut those beautiful corner pieces with my Graphic 45 Policy and Decorative Die-set!
I love making scrapbook layouts and coming up with different ways to use my die-cuts. I hope that I’ve been able to provide you with some inspiration, using your Graphic 45 paper collection and dies. Let me know what you think in the comments section below. Until next time! Happy paper crafting!

You must be logged in to post a comment.